저번 포스팅에서는 프로젝트 세팅을 했는데 일단 거지같은 모양새다.
밑에 푸터도 주고 위에 헤더도 설정해보자
1. layout 나누기
header / body / footer 영역을 나눠보자.
우선 home : Scaffold 설정을 하고 appBar / body / bottomNavigationBar 로 나누면 된다
import 'package:flutter/material.dart';

void main() {
  runApp(const MyApp());
}

class MyApp extends StatelessWidget {
  const MyApp({Key? key}) : super(key: key);
  @override
  Widget build(BuildContext context) {

    return MaterialApp(
        home: Scaffold(
            appBar: AppBar(
              backgroundColor: Colors.white,
              title: SizedBox(
                height: 40,
                child: TextField(
                  decoration: InputDecoration(
                      hintText: '검색어를 입력하세요', //힌트 텍스트
                      filled: false, //배경색 활성화
                      fillColor: Colors.white,
                      suffixIcon: const Icon(Icons.search, color: Colors.grey),
                      enabledBorder: OutlineInputBorder(
                          borderRadius: BorderRadius.circular(20),
                          borderSide: const BorderSide(color: Colors.grey, width: 1)
                      ),
                      focusedBorder: OutlineInputBorder(
                          borderRadius: BorderRadius.circular(20),
                          borderSide: const BorderSide(color: Colors.grey, width: 1)
                      ),
                      contentPadding: const EdgeInsets.only(left: 15, right: 10)
                  ),
                ),
              ),
            ),
            body: Container(
              width: 150, height: 50, color: Colors.black,
              margin: const EdgeInsets.fromLTRB(10, 10, 10, 10),
            ),
            bottomNavigationBar: const BottomAppBar(
                child: Row(
                    mainAxisAlignment: MainAxisAlignment.spaceEvenly,
                    children: [
                      Icon(Icons.star),
                      Icon(Icons.confirmation_num_sharp),
                      Icon(Icons.co2_outlined)]
                )
            )
        )
    );

  }
}
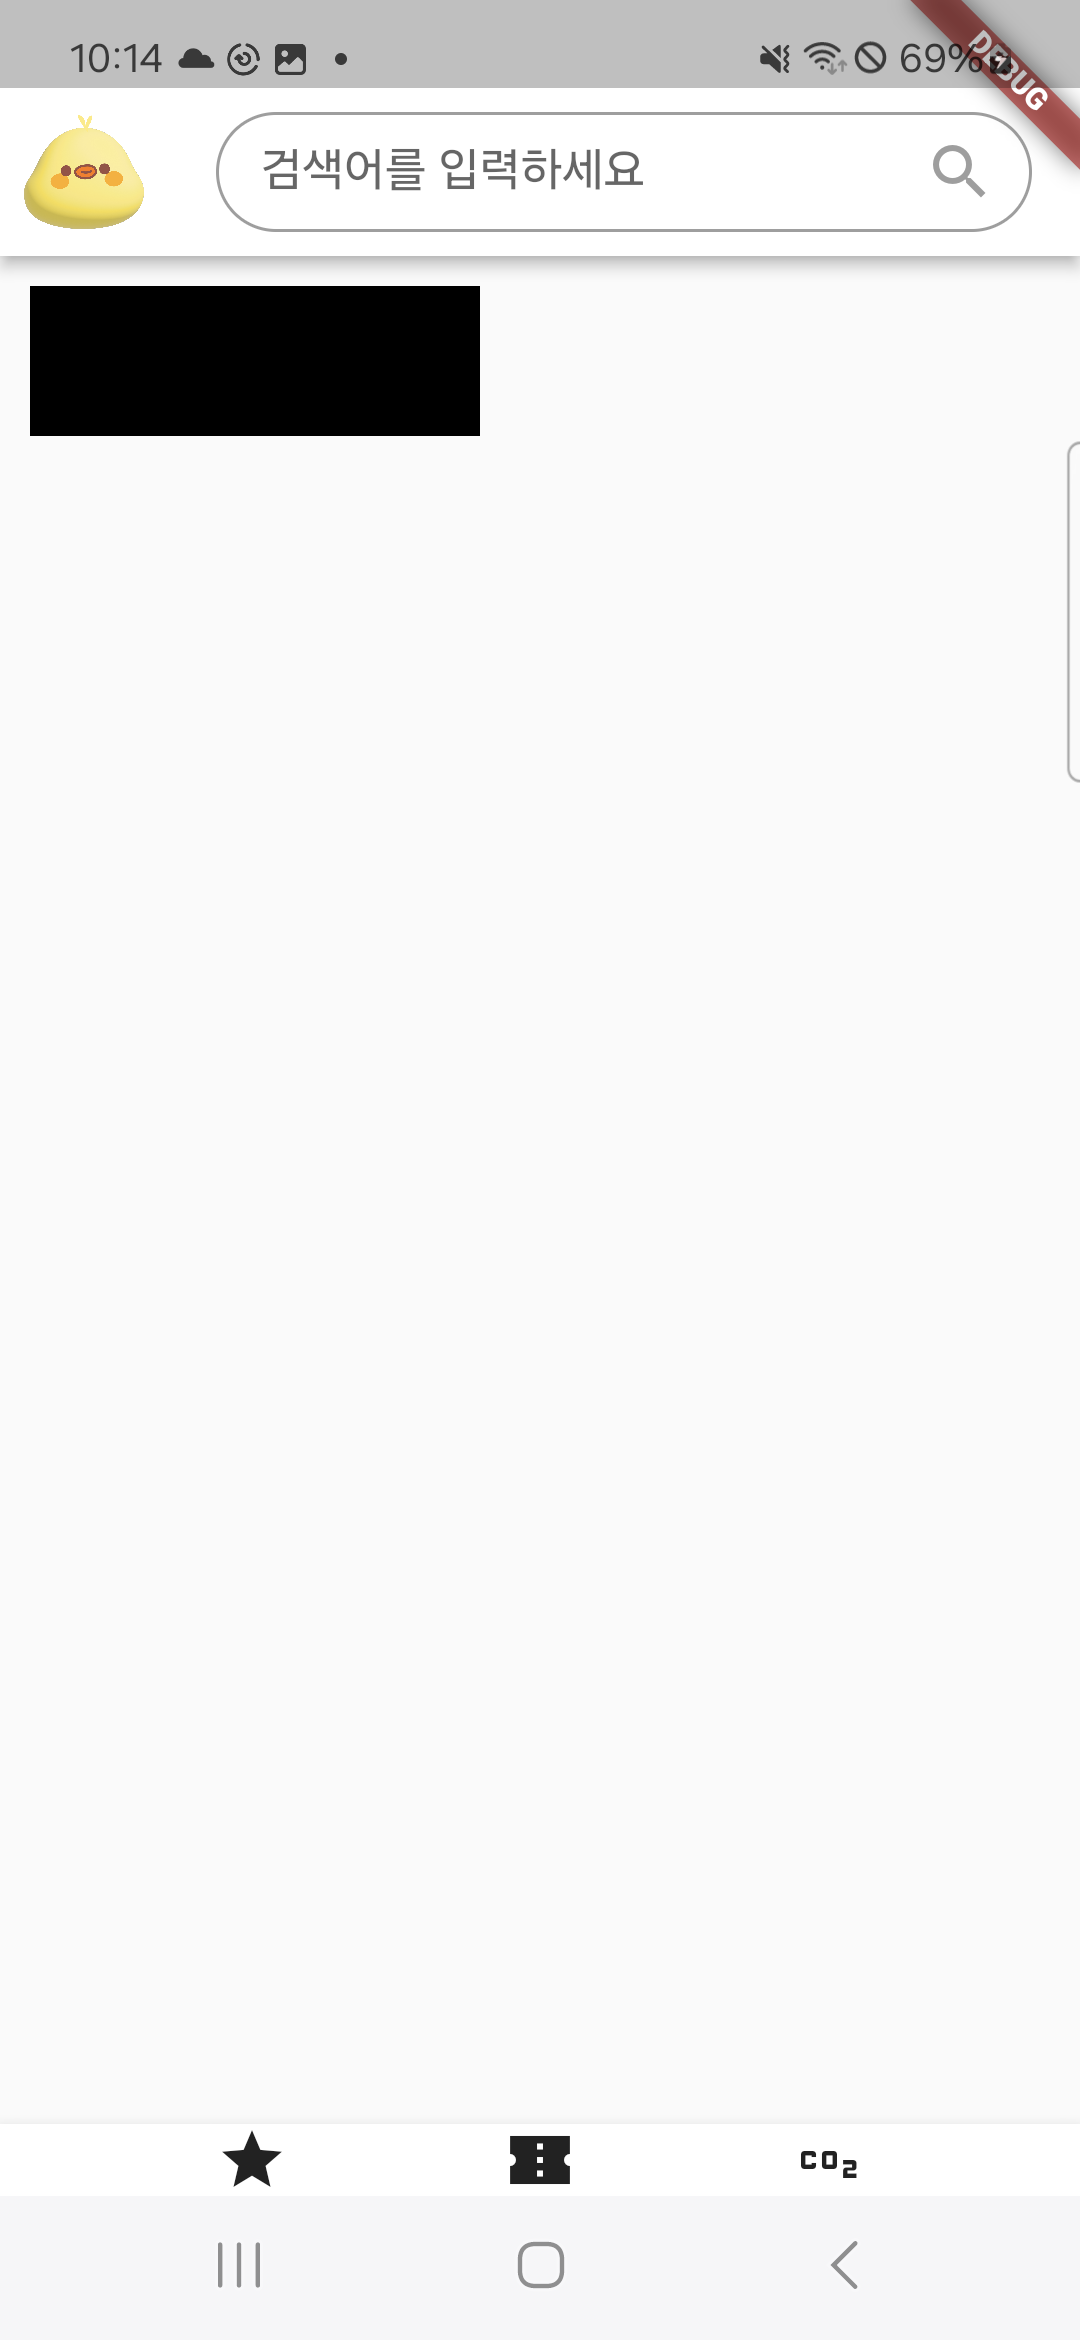
대충이렇게하면 뭔가 많이본 모양이 나오긴 한다
input 필드를 생성하고 그 안에 hint 와 suffix icon 돋보기 이미지를 설정하였다

하지만 상단의 시간쪽이랑 로고도 넣으면 좋을것같다.
2. Header 꾸미기
appBar 에 leading 속성을 추가해서 로고 이미지를 넣어보자.
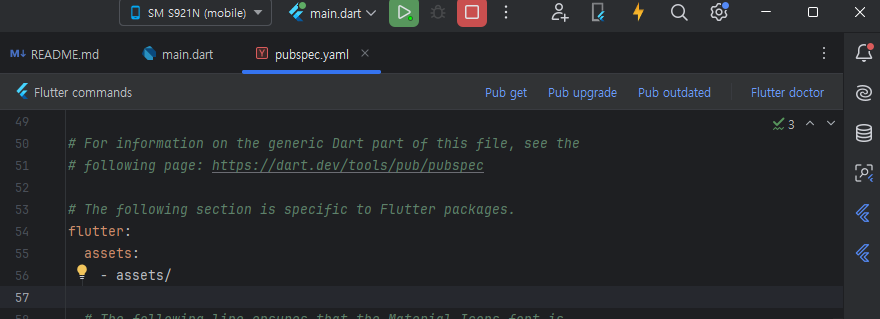
이미지를 넣으려면 pubspec.yaml 에 이미지 root 설정을 해야한다.
assets 설정을 추가하자
...

flutter:
  assets:       # <- 여기 추가
    - assets/    # <- 여기 추가
  # The following line ensures that the Material Icons font is
  # included with your application, so that you can use the icons in
  # the material Icons class.
  uses-material-design: true
  ....
그리고 인텔리제이기준 우측상단에 pub get, pub upgrade를 한번씩 눌러주자
그리고 재실행해주면 이제뭔가 앱같긴 하다.
상단에 회색영역도 지워보자
import 'package:flutter/material.dart';
import 'package:flutter/services.dart';

void main() {
  // 상태 바 배경 색상 변경 (흰색으로 설정)
  SystemChrome.setSystemUIOverlayStyle(const SystemUiOverlayStyle(
    statusBarColor: Colors.white, // 상태 바 색상을 흰색으로 설정
    statusBarIconBrightness: Brightness.dark, // 상태 바 아이콘을 어두운 색으로 설정 (흰색 배경에 어울리도록)
  ));

  runApp(const MyApp());
}
이렇게까지하면 헤더는 정리된 느낌 근데 폰트가 맘에안든다.
국룰폰트 Noto Sans Kr 을 넣어보자
3. 폰트 추가
https://fonts.google.com/noto/specimen/Noto+Sans+KR
Noto Sans Korean - Google Fonts
Noto is a global font collection for writing in all modern and ancient languages. Noto Sans KR is an unmodulated (“sans serif”) design for the Korean language u
fonts.google.com
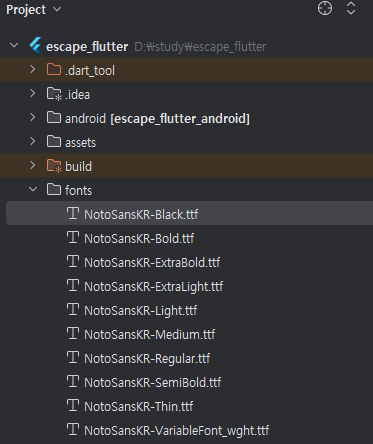
여기서 get Font -> Download All
해서 모든 ttf 파일을 다운로드하고 프로젝트의 root 경로에 fonts 폴더생성 후 모두 집어넣는다
이걸이제 어케쓰냐면, pubspec 에 선언하고 사용하면 된다
pubspec 하단에 example이 나와있긴한데, 만드려면 복잡시러우니까 그냥 밑에 복사해서 쓰자
헷깔릴까봐 flutter 부터 복사해봄
flutter:
  assets:
    - assets/

  # The following line ensures that the Material Icons font is
  # included with your application, so that you can use the icons in
  # the material Icons class.
  uses-material-design: true

  # To add assets to your application, add an assets section, like this:
  # assets:
  #   - images/a_dot_burr.jpeg
  #   - images/a_dot_ham.jpeg

  # An image asset can refer to one or more resolution-specific "variants", see
  # https://flutter.dev/assets-and-images/#resolution-aware

  # For details regarding adding assets from package dependencies, see
  # https://flutter.dev/assets-and-images/#from-packages

  # To add custom fonts to your application, add a fonts section here,
  # in this "flutter" section. Each entry in this list should have a
  # "family" key with the font family name, and a "fonts" key with a
  # list giving the asset and other descriptors for the font. For
  fonts:
    - family: NotoSansKR
      fonts:
        - asset: fonts/NotoSansKR-Thin.ttf
          weight: 100
        - asset: fonts/NotoSansKR-ExtraLight.ttf
          weight: 200
        - asset: fonts/NotoSansKR-Light.ttf
          weight: 300
        - asset: fonts/NotoSansKR-Regular.ttf
          weight: 400
        - asset: fonts/NotoSansKR-Medium.ttf
          weight: 500
        - asset: fonts/NotoSansKR-SemiBold.ttf
          weight: 600
        - asset: fonts/NotoSansKR-Bold.ttf
          weight: 700
        - asset: fonts/NotoSansKR-ExtraBold.ttf
          weight: 800
        - asset: fonts/NotoSansKR-Black.ttf
          weight: 900
그리고 main.dart 에서 hoem 상단에 theme 을 추가하자
class MyApp extends StatelessWidget {
  const MyApp({Key? key}) : super(key: key);
  @override
  Widget build(BuildContext context) {

    return MaterialApp(
        theme: ThemeData( //추가
            fontFamily: 'NotoSansKR'
        ),
        home: Scaffold(
        ...생략

4. Footer 추가
푸터를 추가한다는것은 클릭할때마다 페이지가 바뀌면 좋겠기 때문이다.
flutter 페이지 이동방식에는 두가지가 있다.
header, footer 를 유지하지않고 전체페이지가 바뀌는방식과 header,footer를 고정시키고 body 만 바뀌는 방식이 있는데, 이번엔 body 만 바꿔보겠다.
푸터에 탭을 3개둔다고 가정하고 이동할 페이지를 3개 더 생성해보자
main.dart는 페이지변경을 관장하는곳으로 인식하고 나머지페이지는 이동할 대상이다.
나는 달력을 넣을것이기때문에 home, calendar, mypage 이렇게 3개로 만들어봤다.
home.dart
import 'package:flutter/material.dart';

class HomeScreen extends StatelessWidget {
  const HomeScreen({Key? key}) : super(key: key);

  @override
  Widget build(BuildContext context) {
    return const Scaffold(
      body: Center(
        child: Text('홈 화면'),
      ),
    );
  }
}
calendar.dart
import 'package:flutter/cupertino.dart';

class CalendarScreen extends StatelessWidget {
  const CalendarScreen({super.key});

  @override
  Widget build(BuildContext context) {
    return const Center(
      child: Text('달력 화면'),
    );
  }
}
mypage.dart
import 'package:flutter/material.dart';

class MyPageScreen extends StatelessWidget {
  const MyPageScreen({Key? key}) : super(key: key);

  @override
  Widget build(BuildContext context) {
    return const Scaffold(
      body: Center(
        child: Text('여기는 마이페이지 화면입니다!'),
      ),
    );
  }
}
이렇게 3개를 만들었으면 이제 main.dart에 이어보자
MyApp build 부분을 이렇게 간단하게 바꿔놓는다
class MyApp extends StatelessWidget {
  const MyApp({Key? key}) : super(key: key);

  @override
  Widget build(BuildContext context) {
    return MaterialApp(
      theme: ThemeData(fontFamily: 'NotoSansKR'),
      home: MainScreen(), // MainScreen이 앱의 첫 화면이 됨
    );
  }
}
그리고 MainScreen 을 정의해준다.
class MyApp extends StatelessWidget {
  const MyApp({Key? key}) : super(key: key);

  @override
  Widget build(BuildContext context) {
    return MaterialApp(
      theme: ThemeData(fontFamily: 'NotoSansKR'),
      home: MainScreen(), // MainScreen이 앱의 첫 화면이 됨
    );
  }
}

class MainScreen extends StatefulWidget {
  const MainScreen({super.key});

  @override
  _MainScreenState createState() => _MainScreenState();
}
이제 MainScreen State 에 들어갈 요소들을 넣어주자
class MyApp extends StatelessWidget {
  const MyApp({Key? key}) : super(key: key);

  @override
  Widget build(BuildContext context) {
    return MaterialApp(
      theme: ThemeData(fontFamily: 'NotoSansKR'),
      home: MainScreen(), // MainScreen이 앱의 첫 화면이 됨
    );
  }
}

class MainScreen extends StatefulWidget {
  const MainScreen({super.key});

  @override
  _MainScreenState createState() => _MainScreenState();
}

class _MainScreenState extends State<MainScreen> {
  int _selectedIndex = 0;

  static final List<Widget> _widgetOptions = <Widget>[
    HomeScreen(), //import 필요
    CalendarScreen(),  //import 필요
    MyPageScreen(),  //import 필요
  ];

  void _onItemTapped(int index) {
    setState(() {
      _selectedIndex = index;
    });
  }

  @override
  Widget build(BuildContext context) {
    return Scaffold(
      appBar: Header(),
      body: _widgetOptions.elementAt(_selectedIndex),
      bottomNavigationBar: BottomNavigationBar(
        items: const <BottomNavigationBarItem>[
          BottomNavigationBarItem(
            icon: Icon(Icons.home),
            label: '홈',
          ),
          BottomNavigationBarItem(
            icon: Icon(Icons.calendar_today),
            label: '달력',
          ),
          BottomNavigationBarItem(
            icon: Icon(Icons.person),
            label: '마이페이지',
          ),
        ],
        currentIndex: _selectedIndex,
        selectedItemColor: Colors.blue,
        onTap: _onItemTapped,
      ),
    );
  }
}
요로코롬하면 탭 클릭 시 페이지 변경 완료
'Mobile > Hybrid' 카테고리의 다른 글
| Flutter 프로젝트 시작하기 (intelliJ) (1) | 2025.03.25 |
|---|---|
| Cordova (코르도바) 시작하기 (1) | 2024.09.06 |


